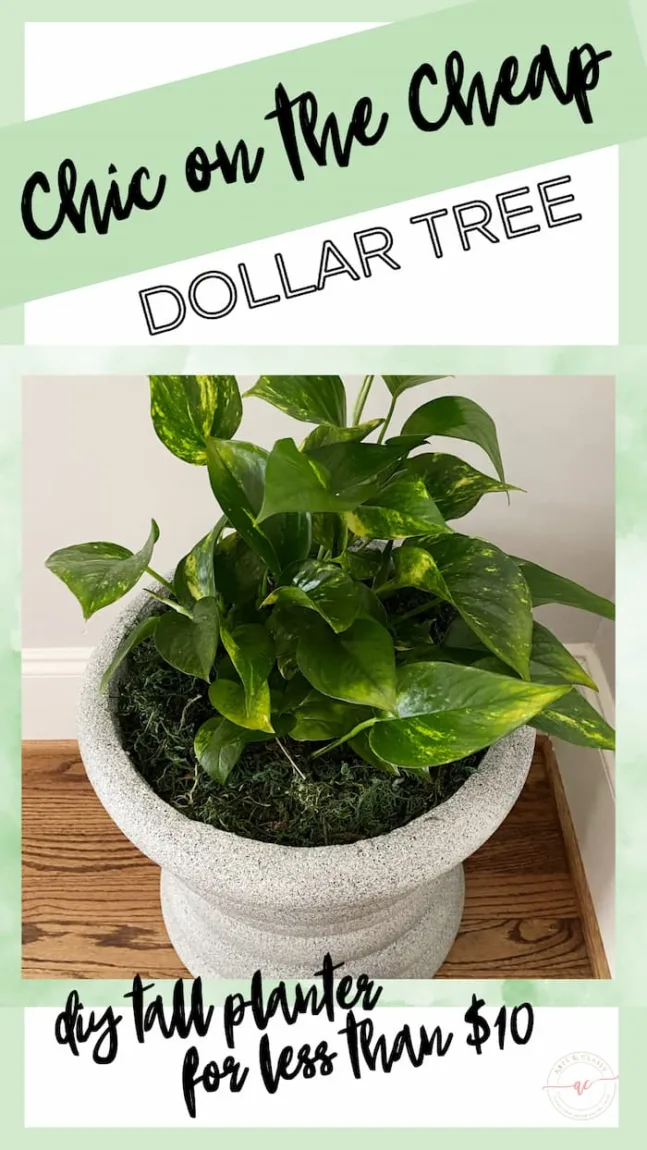
Are you in the market for a cheap diy tall planter to pep up your home or garden? Learn how to make a simple and cheap DIY tall planter out of buckets and pool noodles from Dollar Tree!
But don’t despair! With this easy-to-follow, budget-friendly DIY tall planter tutorial from Dollar Tree, you can have a stylish and long-lasting planter for your home or garden in under an hour with just a few basic tools and supplies. No power tools needed for this tall planter project!
You’ll have all the tips, tricks, and techniques you need to create a durable and eye-catching planter without spending a fortune. So let’s get started with this DIY project!
What can I use for a tall planter?
With just a few products from your local Dollar Tree, you can create a beautiful tall planter that’s easy to make and easy to maintain. Plus, it’s beginner friendly! Keep reading to learn how to make a DIY tall planter from Dollar Tree.
The information below contains some affiliate links. I may earn a small commission if you make a purchase through one of these links. See more information in my full disclosure policy.
1) Gather Your Supplies for this Planter Project
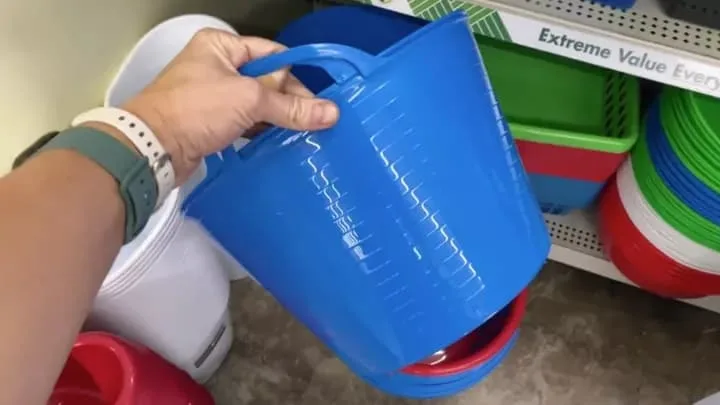
- 2 Dollar Tree Buckets (you can buy in bulk online, but I recommend going in store)
- 2 Pool Noodles but you can also find them on Amazon
- Xacto knife or box cutter
- Caulk from Dollar Tree you can also find on Amazon
- White Chalk Paint
- Paint Brush
- Rustoleum Stone Spray Paint
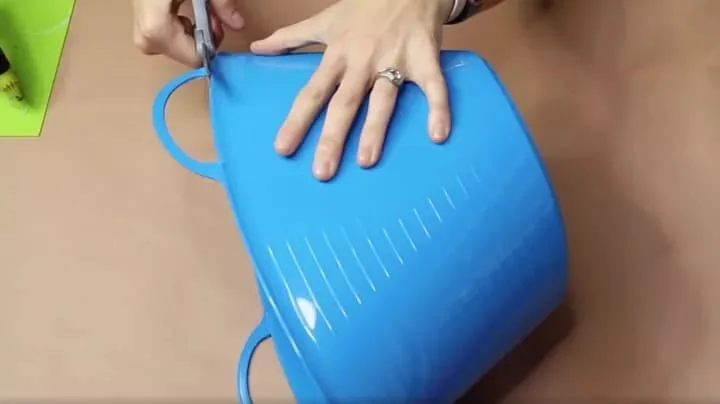
2) Cut The Handles Off Of the Buckets
I cut the handles off both so that they are flat all around. I was able to do this with a normal pair of scissors because this plastic was pretty thin.
With the handles cut off of both of my buckets, I flipped them over so that they were base to base to glue them together.
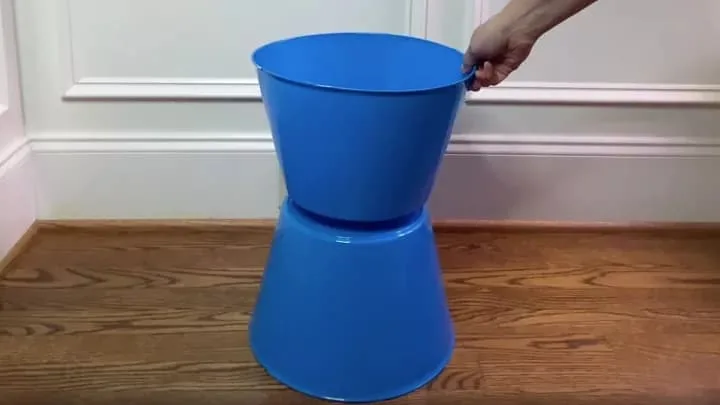
3) Hot Glue the Buckets Together
To attach the buckets together, I used hot glue. Make sure the bottom is covered completely with hot glue. Then I had to work pretty quickly because this glue sets pretty fast, and turn the other bucket on top and hold them in place until the glue dries. Once the glue set, I wanted to reinforce the bases so added more hot glue to the seam.
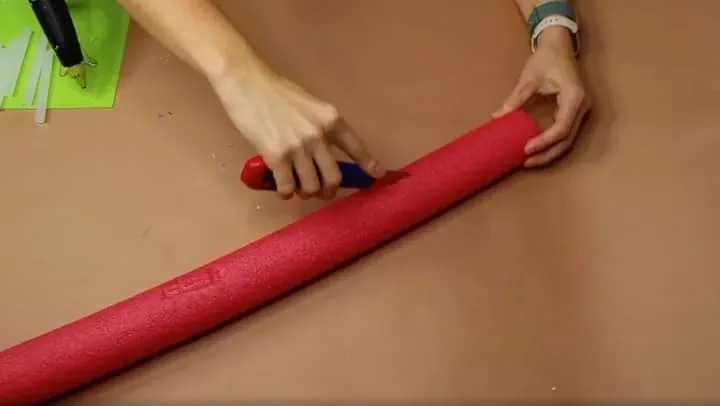
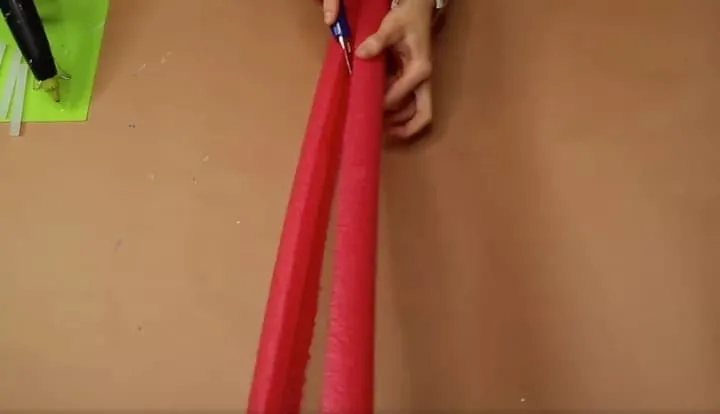
4) Cut the Pool Noodles in Half
Next, I needed to get the pool noodles ready so made a slice down the length of the noodle with a straight-edged knife. Make sure to cut away from you so that you’re not risking the possibility of cutting yourself. Then I turned the noodle over and sliced the other side so that there were two halves.
5) Attach the Pool Noodles to Buckets
Now that I had two separate pieces, it was time to attach them to the buckets. I used a lot of hot glue to apply them and then held them in place to allow the glue to dry. This takes a little bit of time so don’t let go too soon. I added glue and a pool noodle for each row and started using painter’s tape to hold them in place while the glue was drying so that I could get the next noodle ready.
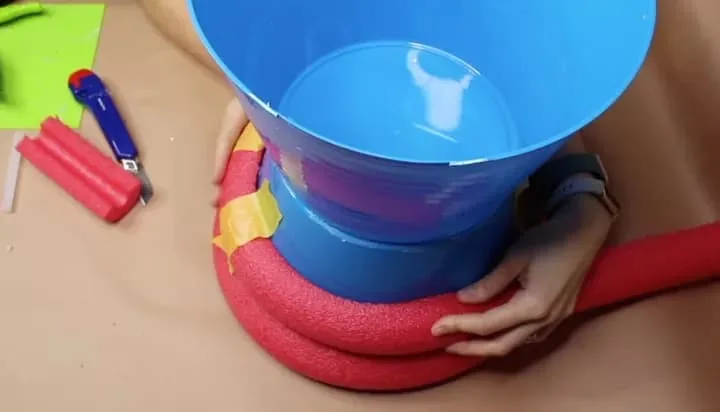
When I got to the top of the bucket, I used painter’s tape and folded it over the lip to hold the top noodle in place while I worked around the edge.

6) Seal the Space Between the Pool Noodles
I used caulk from Dollar Tree to fill in the indentations between my pool noodles. The goal was to create the smallest gap as possible. This seemed like the perfect way to seal these crevices for the next step of this project.
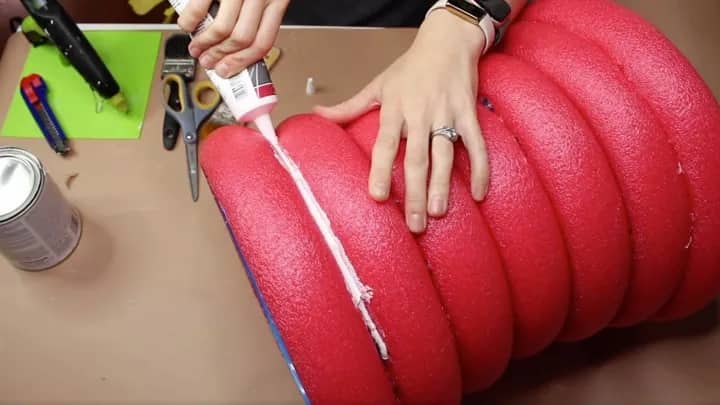
I did this to all of the seams between the pool noodles and where they joined together using my finger to smooth it out. I then left it overnight to dry.

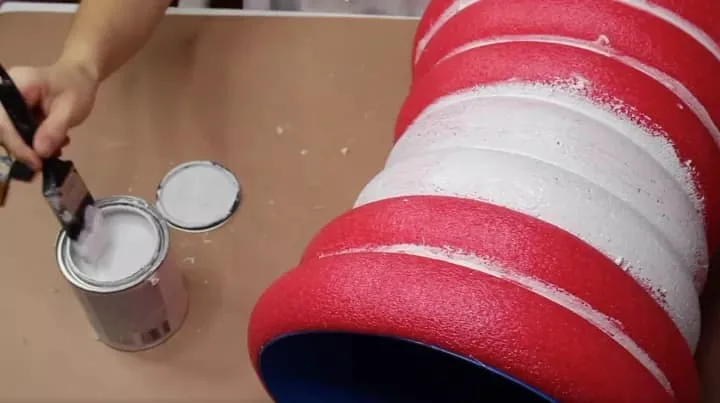
7) Paint the Pool Noodles and Buckets
After the caulk had dried, I painted the entire project white. I used white chalk paint by Rustoleum. I used the color Linen White. It’s a staple in my craft supply cabinet.
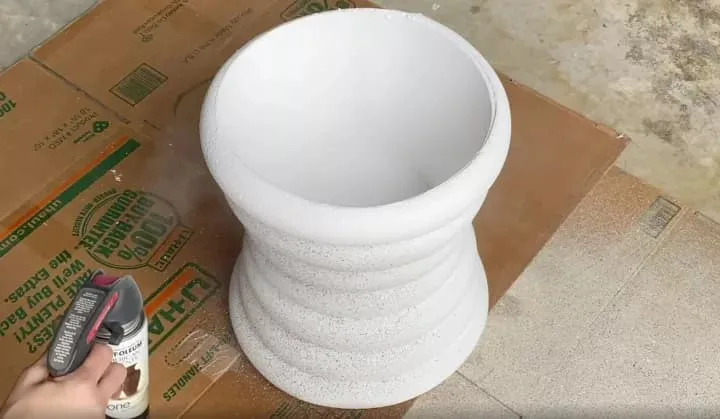
8) Make it Look Like Stone
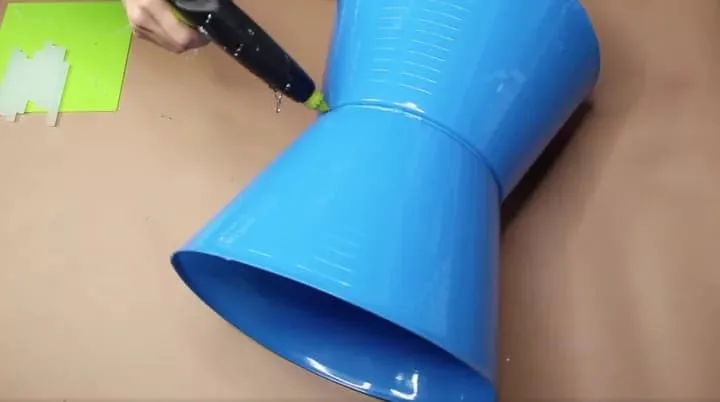
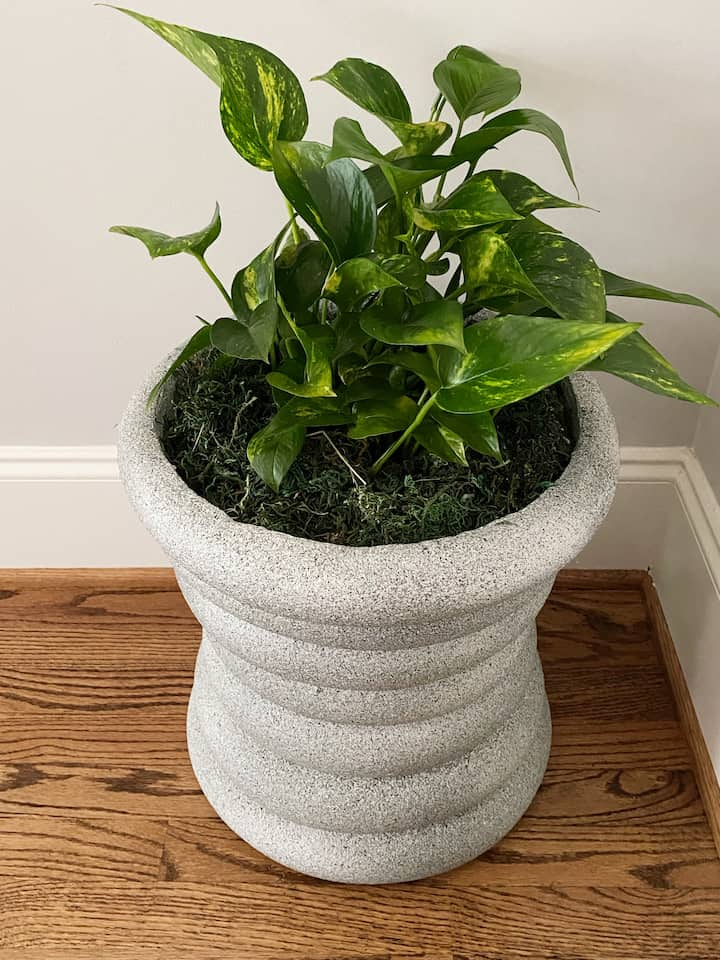
To complete the look, I applied a few coats of Rustoleum Stone Spray—messy work, so I did it outdoors!
Applying the spray evenly around the perimeter, I allowed plenty of time for each coat to dry before flipping the project over to work sround the circumference. This spray paint takes more time to dry than the typical spray paint. I let this dry overnight.

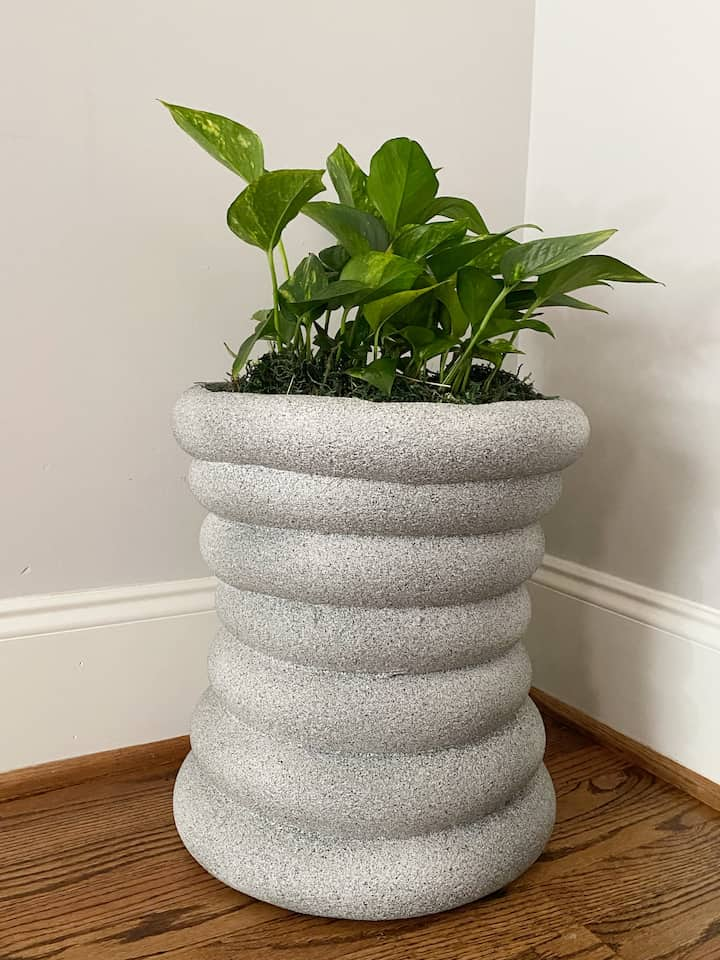
Creating an eye-catching and easy diy tall planter doesn’t have to include power tools.
With the right materials, a bit of creativity, and a few helpful tips, anyone can transform an everyday item into a show-stopping piece of decor.
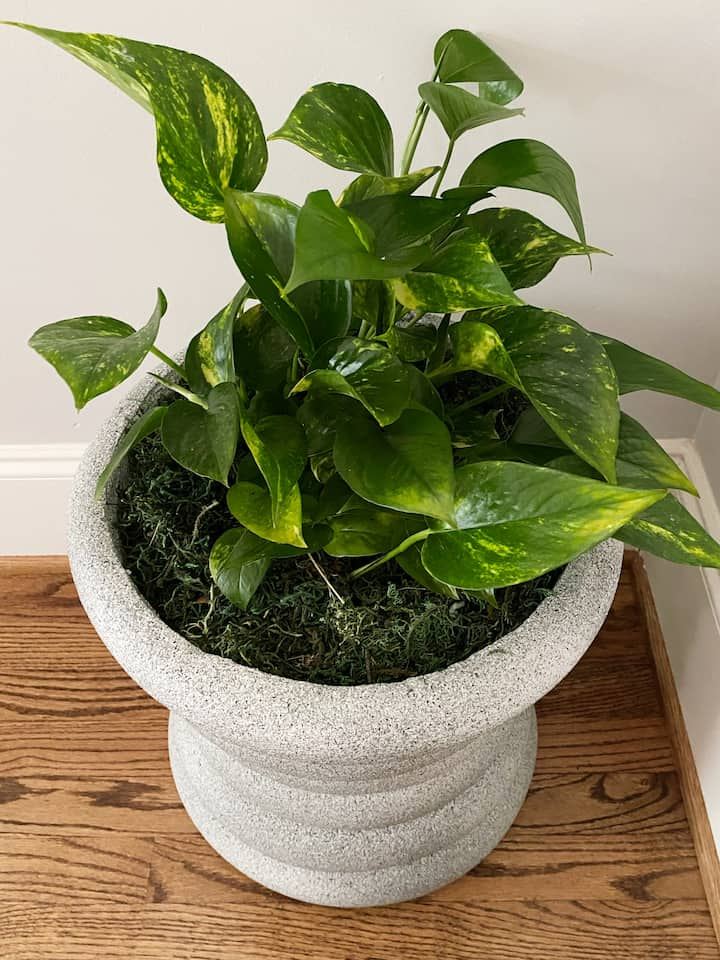
This project tutorial is proof that anybody can create a beautiful planter that adds life to any space. From front door decor to patio decor, or even on the front porch, you can use this planter to make a statement that fits your style. I found a pothos in a pot and since it’s a low light plant, I knew it would be the perfect low maintence plant. And I was right!
Now that I have finished this planter, I am proud to have a piece of decor that is just as beautiful as it is sustainable for my home. If you are looking for ways to spruce up any space, this project tutorial is the perfect place to start. Everyone deserves to have a space that looks and feels good. So get creative and give this project tutorial a try – you won’t regret it!
You may also like some of my other projects and posts:

If you liked this project, you might also like some other talented creators that have made some diy tall planters projects!
- DIY Tall Planter Plans – Pine and Polar
- DIY Tall Planters for $20 – The Owner Builder Network
- How to Make a Tall, Tapered Planter – This Old House
The post Can You Build a Stylish DIY Tall Planter for Under $10? appeared first on Arts and Classy.


